
ESO Dungeon Guide: Imperial City Prison
Sitting in the Memorial District, the prison is full of Daedra. Within, you may find a familiar face, Lyranth. Also, if you are running in Veteran Mode, you will obtain some Daedric Shackles. Be forewarned, however, Veteran Mode runs are currently tuned far tougher than previous runs.

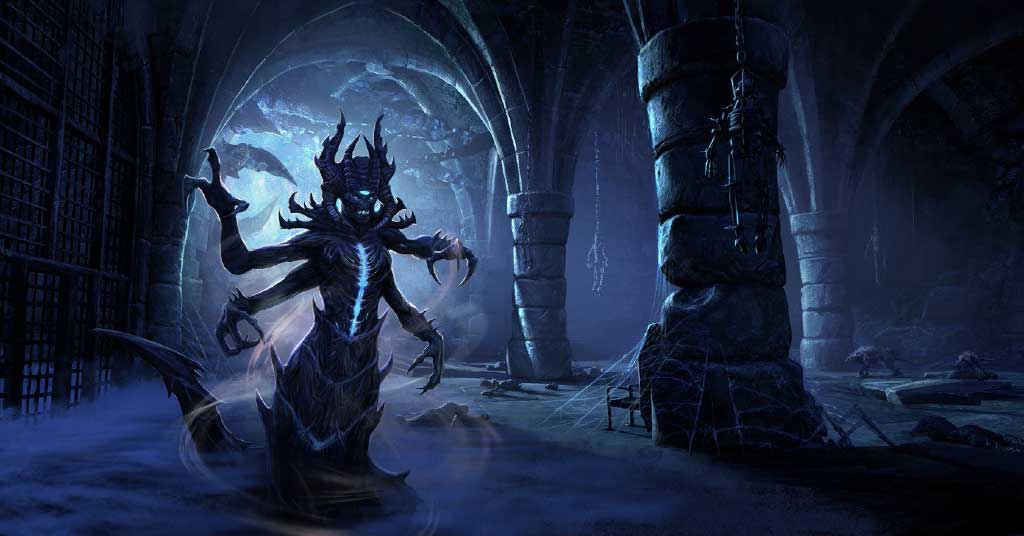
Overfiend:
The Overfiend is waiting for you shortly after heading into the hallways of the prison. He is the easiest of the bosses and a solid group should be able to best him on Veteran Mode, even if they are not ready for the rest of the dungeon at that difficulty.
Abilities:
- Cone Claw: Like other fiends, he channels a claw attack in front of him. Unlike other fiends, he will move while doing so, following the tank. Blocking here is very helpful.
- Heavy Slam: Indicated by a full red circle, he will jump in the air and use a very heavy attack on the tank. Block this too.
- Stun Circles: Purplish-black rings will appear around 2 players regularly. The rings are doughnut style, with the hollow center that is safe. Standing on the ring when it bursts a few moments later will cause you to be stunned. You can escape with break free, but it is better to simply avoid the rings.
- Additional foes: He summons waves of melee and casters. DPS should group these on the casters, and kill. Eventually, he will also summon a harvester. Prioritize the other small fries, then the harvester, before going back to the boss. The harvester is a normal harvester and, while annoying, is less of a threat than the others with their magic barrages and heavy attacks.
Flesh Atronachs:
While not a boss, these are a DPS check regularly throughout the dungeon. On normal mode they are very easy, with a long timer if one exists. We tested a one-and-a-half-minute wait, so if a timer exists it must be very long! On VR mode, they are tough, and the timer requires a solid dps team, preferably with help from the healer. Once enraged, they can one shot anyone.
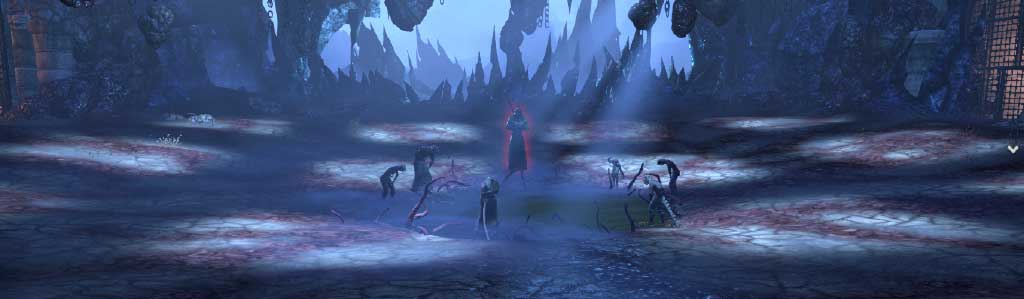
Ibomez the Flesh Sculptor:
Ibomez is waiting with a multitude of prisoners around him and locked in cages around the room. He likes to do some pretty disturbing things to them and he will try to chop you up as well.
Abilities:
- Tenderize: This is the single deadliest attack you will face in this dungeon. He will push a player to the ground and start sparking red, along with giving a notification on the bottom of the screen that either you or an ally is being tenderized. Tenderize is a stun-lock mechanic and is always lethal if not interrupted. Somebody must run over and bash Ibomez to free their friend. Don’t rely on any other interrupt, since they do not seem to work.
- Cone of Poison: A cone attack of poisonous goo. Simply move out of this.
- Pustules: Little globs of gunk will spawn on the ground and burst for poison damage. Avoid them.
- Flesh Atronachs: Prisoners in the central poison pool become twisted into Flesh Atronachs. They can enrage, so killing them prior to that is a good idea. On normal mode, you can ignore them until his turtle phase.
- Turtle phase: Ibomez huddles down, becoming very damage resistant. He summons tons of prisoners. AOE them down to avoid too many Flesh Atronachs spawning.
- Poison pool: Stepping into the little pool in the center of the room is damaging.

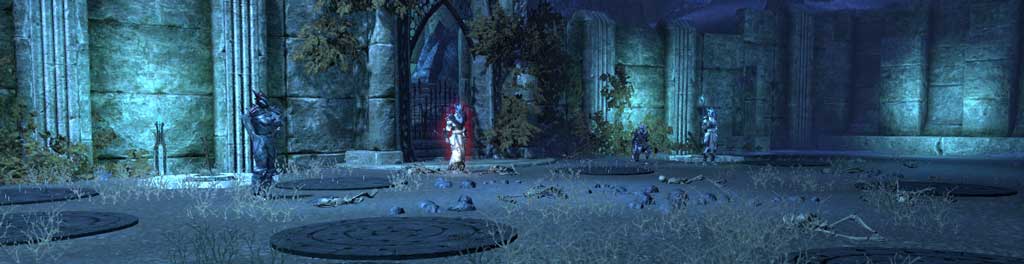
The Gravelight Sentry:
This watcher is waiting for you in the middle of a poisonous pool, and eyeing you as he stays safe on the small island in the center.
Abilities:
- Poison Waters: The entire pool around the central island is poisonous. Move quickly to land.
- Necromancers: There are a handful of Necromancer adds on the island. Kill them first, using interrupts to stop their summoning attempts. They will summon Venomous skeletons if left alone, which are easy to kill but do explode in a poison cloud.
- Water Shot: The boss lifts a bunch of poisonous water up and bombs where a player is standing. Move out of this.
- Whirl: Like other watchers, the boss whirls with a knockback. To avoid being thrown in the water, the tank should stand near the center along with any melee. Ranged may safely huddle near the edges of the island.
- Eye Beam: Again, like other watchers, the boss uses an eyebeam attack. Move out of it as usual.
Flesh Abomination:
This monstrosity is another flesh amalgamation. Yuck. Remove this tragedy from our plane!
Abilities:
- Hoarvor adds: The boss starts with a couple Hoarvor adds. It also summons more during the fight. Kill them.
- Hoarvor Kaboom!: A Hoarvor will spawn near each player and explode. Roll away or block.
- Poison rings: Rings of poisonous gas are shot out, surrounding players. Each one summons a zombie. Move out of the rings and clean up the zombie adds.
- Poisonous Blast: Big red circles appear on all players and follow them. These will explode shortly and have a knockdown component. Block to reduce the damage and avoid the knockdown.
Four Warden trainees and the locked gates:
A sort of mini-boss event with several groups of foes with spike traps around the area. Each group has a lever or two levers to open the gate. Where there are two levers, you must time pulling them by having one person as lead puller and the other watch the lead and interact as soon as the animation starts. The goal is to have both levers in motions at near the same time to open the gates ahead of you. The last place will have four Warden trainees.
- The Templar: Heals and uses flame attack, first kill priority along with bashes.
- The Necro: Summons adds, second kill priority. Also summons a Bone Shard, which becomes first kill priority because it shields all the foes from damage.
- The DK: Fire attacks, standard Dragon Knight stuff, low priority target.
- The NB: Standard Nightblade stuff, low priority.
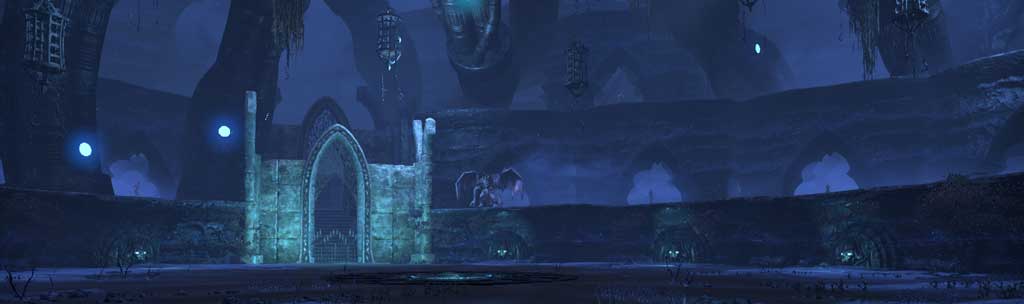
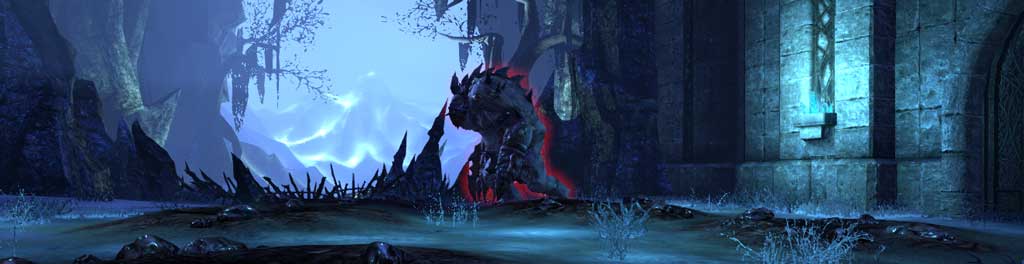
Lord Warden Dusk:
The final boss is a Twilight Gargoyle. You can get your first look at him before you reach Flesh Abomination, perching on the wooden wall. This boss is a dancefest, but should be fairly easy to handle with a little caution.
Abilities:
- Teleport: Like other Twilight Gargoyles, Dusk teleports around to attack players.
- Orbs of Damage Ray: Little black orbs that Dusk summons which sit in a spot and damage nearby players. Stay away from them, although if your health is high you can run by.
- Ground Portal: A large glowing area on the ground appears. This area will throw players high in the air, and as they fall back down they must use a synergy effect to slow down or they will die. It still hurts. Dancing around these will take up a lot of your attention, but keep hitting that boss. **IMPORTANT** In VR mode, the Darklight Burst hits very hard. Using portals to escape it is the solution. This also works on normal, for both training in preparation for veteran mode and for the achievement.
- Ranged swift dark fire attack: A rapid burst of little black fire attacks aimed at the tank. Nearby players may be hit.
- 4 way split: Dusk will split into 4 minor versions which attack with ranged magic attacks. If Dusk is being hit by a channeled attack, he may bug and stay in the fight, sitting in the center, but he doesn’t do anything. The 4 adds will attack people other than the tank to start, so when this happens blocking is important for everyone. It is regularly the case that each will pick the same player, and kill them if they are not the tank or blocking. Kill them all to return to dealing with Dusk.
- Darklight Burst: A red AOE attack which targets where a player is standing. Move out of this. If nobody is hit, you get an achievement.
- Super Dark Crush: Dusk flies up into the air, and starts building a big burst of energy. Then, flying down Dusk will damage all players to 5% health on normal mode... and kill on veteran mode. If too close to an orb or a portal, players will die easily. Off healing to get back full is a great idea here, the main healer will be spamming once the ability is done. Mutagen also works wonders because it can heal all players immediately after the effect.
About the Author
Jairone
Senior Editor
Robert joined Gaiscioch during the Rift chapter, and decided to stick around because the people are awesome! He has a long history of playing games, mostly RPG or Strategy, and has played MMOs since they were born of MUDs.
Aside from his gaming, he also enjoys reading and cooking. Robert has also been previously published as a contributor with Rift Junkies for several articles during the 'Storm Legion' expansion. He does not always use the moniker 'Jairone' but it is a frequent choice in honor of one of his Grandfathers, as it is based on his middle name of Jerome.
About Elder Scrolls Online
Experience an ever-expanding story across all of Tamriel in The Elder Scrolls Online, an award-winning online RPG. Explore a rich, living world with friends or embark upon a solo adventure. Enjoy complete control over how your character looks and plays, from the weapons you wield to the skills you learn – the choices you make will shape your destiny. Welcome to a world without limits.