
Veteran Mode: Darkshade Caverns
Darkshade Caverns is located in southeastern Deshaan. Used for Kwama mining, the owners stumbled across another cavern system which connects to Dwemer ruins. It is worth noting that the events here give rise to some questions on exactly how intelligent Kwama might be (even if the outside world does not have you asking this) as we see them actively trying to deal with a group of Dwemer machines. Save the debate about the ethics of Kwama mines for later, though, because you have some business to attend to right now.
As always in dungeons, there is some basic terminology to know:
- AOE or Area of Effect: This applies to both your group and enemies.
- Bash: Hold block, press attack. Interrupts some casts, usually shown with a red aura.
- Block: This is used to minimize damage, especially against heavy attacks shown with a yellow aura.
- Break Free: This is the action you perform to get out of stuns and effects. It is performed the same as Bash.
- Incidental AOE: This is an AOE effect which occurs as splash damage from an attack on a primary single target.
The Bosses:
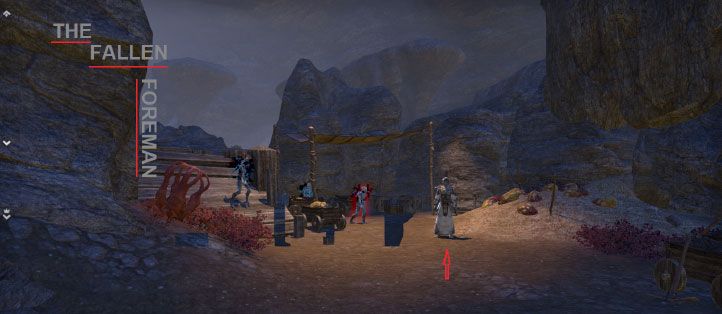
The Fallen Foreman:
This mini-boss is a ranged caster type. As with most mini-boss encounters, it may be skipped. Spell absorb or reflects by the tank are valuable against this caster.
Other than the whirl of fire attack, the Fallen Foreman is your standard fire type caster. Players other than the tank should stay away from the boss if possible, or should be ready to move quickly when the fire wall starts.
There is a full group of enemies standing around the foreman. The tank can gather many, if not all of them, and they should be dealt with first. AOE ultimates can help reduce the danger here greatly.
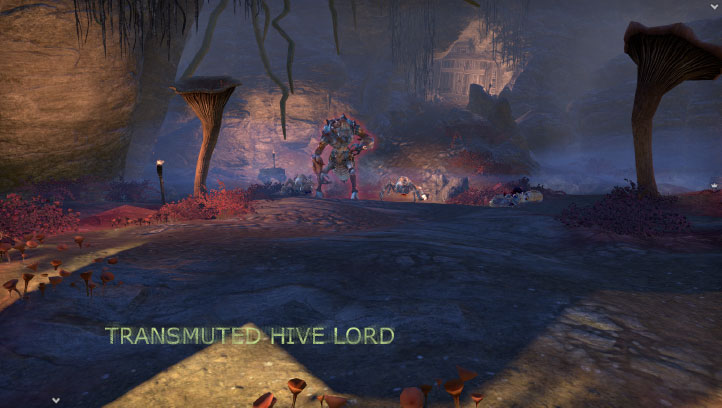
Transmuted Hive Lord:
This boss spawns immediately after you finish the battle with the fighting Kwama and Dwemer constructs. It does not leash until near the entry to the dungeon. Players should move back prior to finishing the mass melee event. As some may not be familiar with the term ‘leash’ it refers to the behavior where a monster returns to its location when the target player moves too far away.
Transmuted Hive Lord comes with a pair of Kwama adds. These each have a special attack. 1 of them drains stamina to zero and continues to pulse drains, which makes the undaunted magic taunt very valuable. The other puts a player to sleep, which can be dealt with via Break Free. When combined, your tank may end up asleep without the stamina to get free.
Transmuted Hive Lord also features a knock-down attack. This can be done by any of the 3 creatures, so the tank tends to be on the ground a lot.
Finally, every so often, the 2 Kwama adds will burrow, and the Hive Lord will repeatedly slam the ground. This is an AOE damage effect with a huge range (it can be outranged when attempting to reset the fight.) You must either heal through the damage, or preferably break through the damage shield which appears around the Hive Lord at the start of this attack. This is a great time to use ultimates to minimize the encounter’s danger.
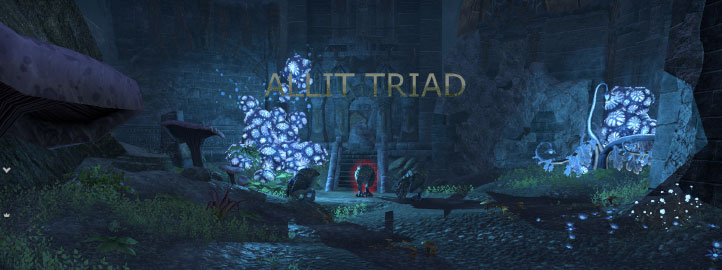
Alit Triad:
3 Alit don’t seem like a big threat, but these 3 aren’t normal Alit.
They engage in a leaping bite attack, which knocks the target down and does large damage. This can make tanking the fight a balance between avoiding/blocking these attacks and keeping everything taunted.
Additionally, they feature a self-rez mechanic. If you kill any member of the triad, it will rez after 10 seconds with 1/8th of it’s HP. This effect will continue unless all members of the triad are killed prior to any hitting their rez timer.
Get all members of the triad to low HP, then finish them off quickly. If one or more are at higher HP, focus them until ending the fight won’t become so messy.
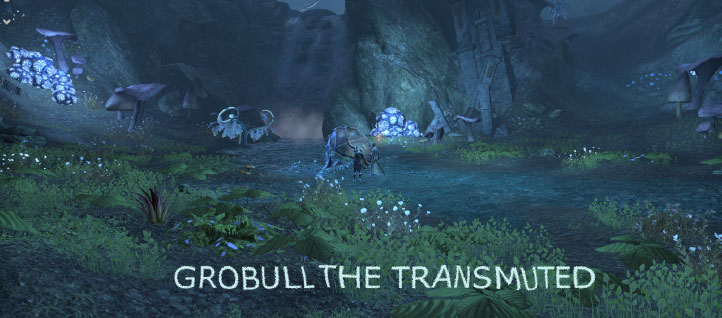
Grobull the Transmuted:
This is potentially the most difficult fight in this dungeon, and it is required to proceed.
Grobull starts on the ground. This is important to note, and everyone should take a moment to remember what he or she looks like at this time. *Yeah, the gender of this boss is unclear.*
When you first attack Grobull, it is nice to use either very heavy hitting attacks or DoT effects. You have about 2 seconds to get these attacks in, prior to the boss starting with other mechanics.
Grobull will normally have a reflective shield up. This shield will reflect all attacks back against the attacker. You can easily kill yourself if you do not pay attention. Grobull may still be damaged by AOE and Incidental AOE, making effects with incidental AOE damage extremely useful for this fight (most ground effect AOE are not effective as the boss moves so much.)
During this time, Grobull will warp around the room and use a big lightning attack. Avoid being in the lightning attack.
Grobull will freeze somebody in the air with something that resembles a force choke, while going about business as normal. Break Free of this effect.
Grobull will summon 2 types of adds. Heavy AOE is recommended.
The first type are small Netch. These come in groups of 3, spawned 2 groups at a time. They will tend to track the healer and the healer will spend most of the fight running around. Players may use root attacks and slowing attacks to help control them.
The second type are larger, and are the key to the fight. Each time Grobull rises into the air, you need to kill 1 more of these to bring Grobull down and make the boss vulnerable. Start by killing 1.
Finally, when Grobull falls to the ground, the first type of adds disappear, and Grobull may be attacked directly. At this time do heavy damage to Grobull as fast as you can.
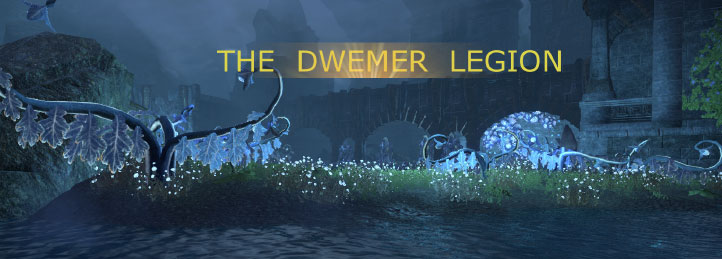
The Dwemer Legion:
This fight is a group of Dwemer constructs, coming in succession as you continue to kill them. Somebody must get the attention of the Centurions, as they are the biggest threat.
Avoid the ground line AOE from the spheres.
With these 2 things handled, the fight should be fairly easy. Just keep killing until you win.
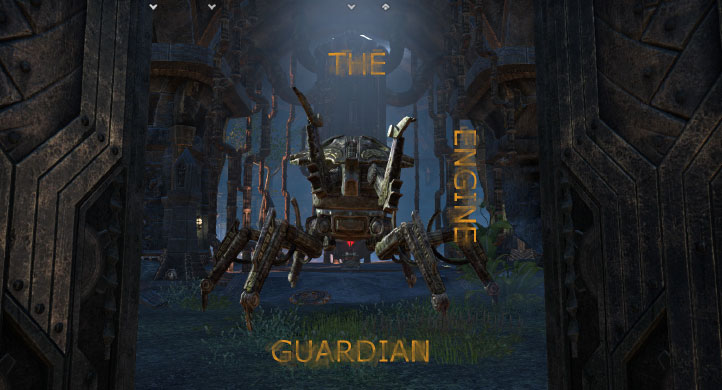
The Engine Guardian:
The Engine Guardian (TEG) isn’t really a tough fight, except for the patience required. The guardian will spawn 3 sphere adds regularly, and these must be killed before they build up in numbers. Ranged DPS is highly suggested for this fight. The sphere adds will use the ground line AOE, and these attacks should be interrupted or avoided.
TEG will cycle between 3 phases. These do not have any preset order, it is a random selection of 1 of the 3. The poison phase features a cooldown. Fire likes to repeat itself frequently. Lightning is the rarest of the 3.
Fire phase: This phase features TEG whirling around with fire in melee, and throwing fire grenades out at players. Avoid the grenades, and stay out of melee.
Lightning phase: This phase is relatively simple, anyone too close will get a lightning bolt to the face. The lightning hits fairly hard, and you should not get into melee.
Poison phase: This phase fills the room with green. All players should group for healing. For the gold key, do not use a lever in the center of the room to clear the poison. Otherwise you may use a lever and gain some DPS time on the boss.
The strongest method for dealing with this boss is to include some DoT effects in your build. You will rarely have time to stand around hitting it with your hardest attacks, although you can get in a few here and there. DoT effects, however, can be left to damage the boss while you move out of danger, and help immensely with ending the fight quicker. Another strong tactic is for DPS with summon abilities to use them. This allows some DPS on the boss while the group avoids danger and deals with those pesky adds.
Thanks for your patience and help to:
Berkanna.
Elizabeth.
Ternie.
This guide would not have been possible without their help.
About the Author
Jairone
Senior Editor
Robert joined Gaiscioch during the Rift chapter, and decided to stick around because the people are awesome! He has a long history of playing games, mostly RPG or Strategy, and has played MMOs since they were born of MUDs.
Aside from his gaming, he also enjoys reading and cooking. Robert has also been previously published as a contributor with Rift Junkies for several articles during the 'Storm Legion' expansion. He does not always use the moniker 'Jairone' but it is a frequent choice in honor of one of his Grandfathers, as it is based on his middle name of Jerome.
About Elder Scrolls Online
Experience an ever-expanding story across all of Tamriel in The Elder Scrolls Online, an award-winning online RPG. Explore a rich, living world with friends or embark upon a solo adventure. Enjoy complete control over how your character looks and plays, from the weapons you wield to the skills you learn – the choices you make will shape your destiny. Welcome to a world without limits.