
Hel Ra Guide
Hel Ra is a 12 person trial. You will have 1 tank, 2 healers, and the rest as dps. Having off healing is a good thing... especially for the last fight.
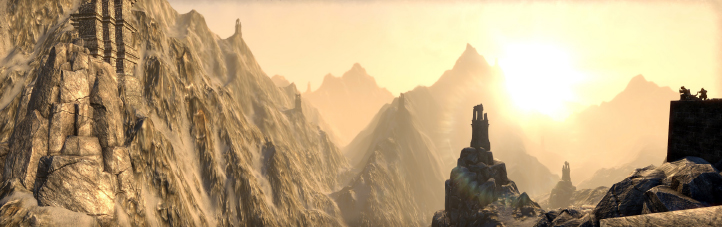
The entry:
The first stop point is on the bridge, before the last set of torches. At this point, everyone should gather. When everyone is ready, ride as fast as possible to the bottom of the stairs. Pull adds, group up, and aoe stuff down.
Ra Kotu:
The boss comes in three waves. The first wave is waiting by the door for you. The subsequent waves come whenever the prior wave is killed.
Adds 1- Aoe these down.
Adds 2- Have people in melee range to bash the flame spinners.
Boss: Kill the 3 adds. Once adds are down, fight the boss as follows:
- Tank faces boss away. Tank should be stationary, excepting possibly during whirlwinds.
- Blade toss: this is an X pattern from the boss that causes a large amount of damage. Standing behind the boss is the desired idea.
- Tornados: these are small little red circles which chase people around. Dance in a small circle around them if they are on you. Don't drag them over other people.
- Whirlwind: the boss spins, causing very heavy damage to all in range. Damage reduction effects like nova help. The tank should be the only one even considering standing in this.
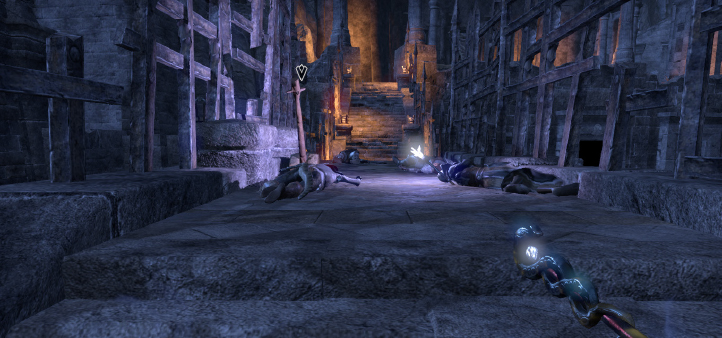
The doors:
You will now split the raid. The tank, a healer, and 4 dps go straight ahead, usually called the left side. The other healer and 5 dps go right. The tank group starts the event by moving in. You can sneak past the mobs up to the next closed gate and huddle really close in the right corner while waiting for it to open. The right group will see the door open and they should roll through.
The right side will repeatedly clear trash and pull levers to allow the tank's group to move forward.
Eventually, they will clear some catapults. You can avoid pulling one gargoyle with care. Once the catapults are cleared, the tank group can move through where they were bombarding. Each group will engage their own boss.
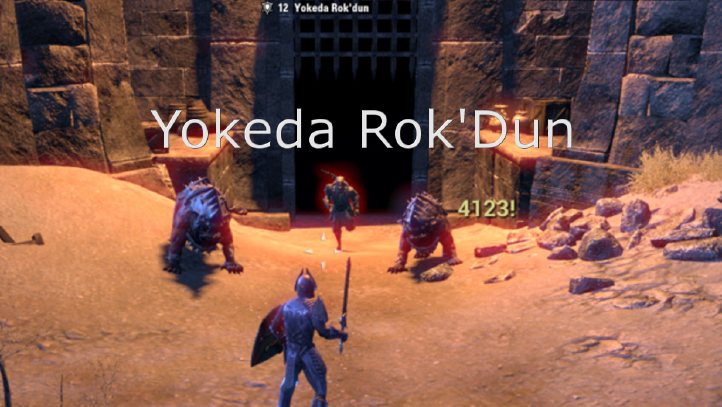
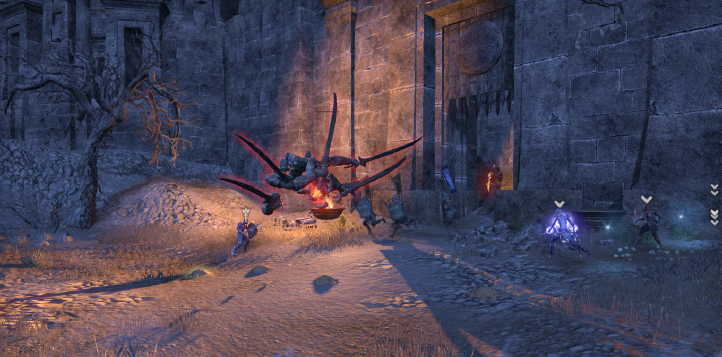
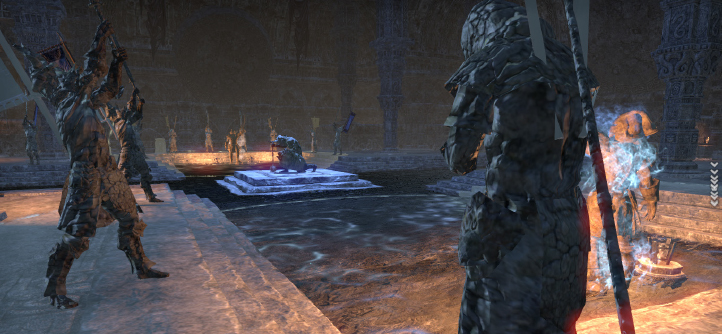
Yokeda Rok'Dun:
This is the tank group boss. The tank will pull the dogs. The DPS will deal with the boss. He will face the dogs away from the group.
-The dogs have a back-kick: Do not stand in melee range behind them. They spawn more during the fight; the tank should keep picking them up.
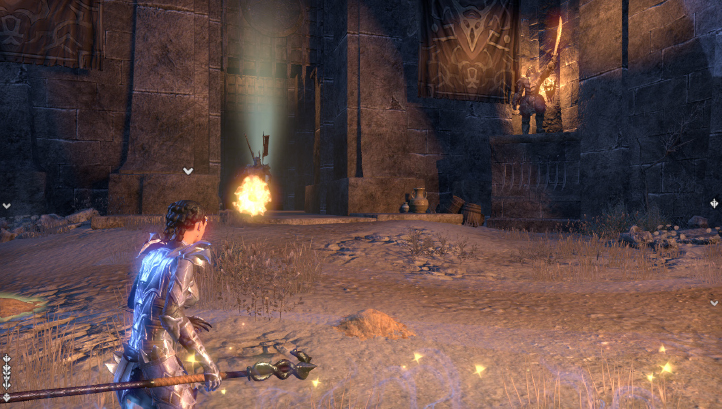
-The boss fires an arrow that causes fire to shoot out of the area. Avoid the fire.
-Healers have to split attention, so DPS must remain close enough to get heals.
-Once the boss is killed, dps kills the dogs.
Yokeda Kai:
This is the right side boss.
-Yokeda Kai launches meteors: They hurt. Get out or block them.
-Yokeda Kai uses the flame spin maneuver: He must be interrupted. A dps should remain close to bash.
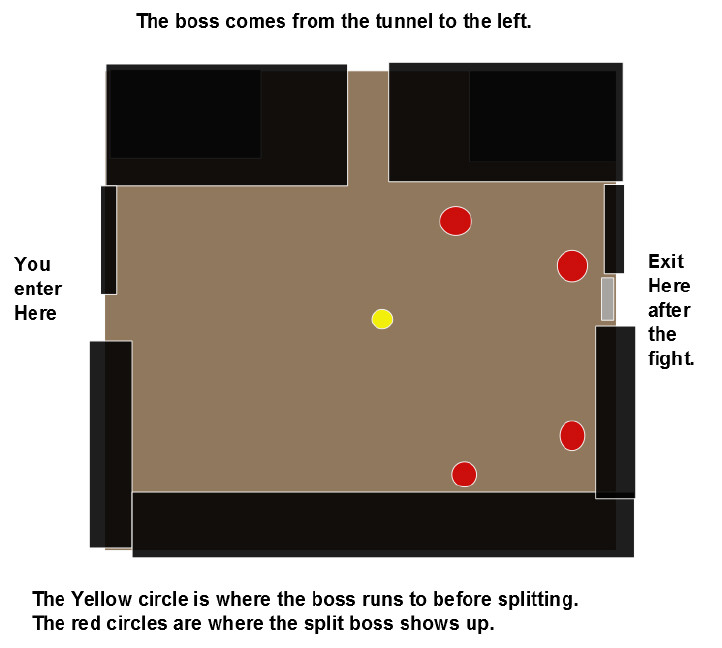
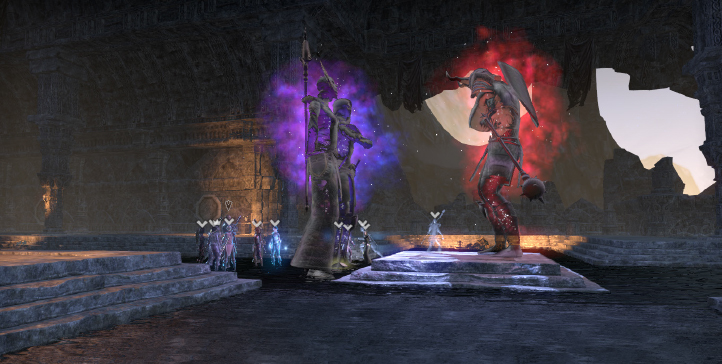
-Yokeda Kai splits: See the image at the end of this boss explanation. You must have 4 dps assigned to be bashers. These 4 dps should be assigned to a spawn position. The 5th dps should be a floater, to run and bash any spot where the dps assigned has died. The healer
should be focused on healing. Binding bash to a hotkey is a good idea here. The other mechanics remain in play, so avoid meteors, bash the flame spin, and kill the split portions.
Split portions have far less health than the boss. 1 of the 4 is the boss. Kill split portions, including use of executes, then return to hitting the boss. You will notice that the split portions show up with the same % of health the boss has, so as the fight goes on they are easier to kill.
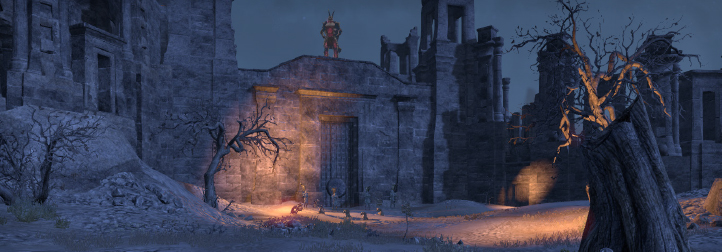
The horn:
The next portion is a horn, guarded by a lonely trash mob. Kill it and stealth up. If everyone is close in to the statue to the right when blowing the horn, you can avoid the rush.
One person will sneak over, blow the horn, then come back to the group still in stealth. Watch the mobs, if they don't stop coming, you must eventually charge in and deal with them.
The horn is an achievement, so letting new people blow the horn is nice.
The Warrior:
Hard mode is not under discussion here. To avoid hard mode, do not poke the statues as you walk in.
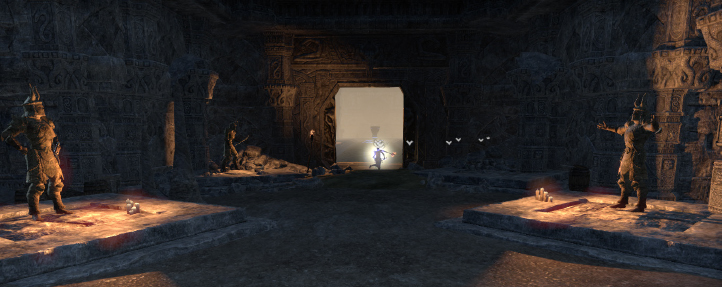
Regroup by walking along the wall to the right, and waiting by the blue circle. Besides the warning above about not poking the statues, you do not want to walk in the water either.Getting too close can pull the boss.
Tanks cannot drop block against him, except when he has leapt away. Use shards and other stamina restoring methods. You should already have been using these methods, but this time it is super important.
Phase 1:
-The Warrior is tanked so he stands outside the blue smoke. This smoke is a dps booster, so if he stands in it he hits harder. Similarly, so does everyone else. Stand in blue smoke as long as it is there.
-The Warrior throws his shield: This is a straight red telegraph. Move out of it, or, if you cannot, block. It flies out, then back in. Each hit causes damage.
-The Warrior leaps: This is a pair of red circles telegraphed with the smaller denoting the center of the larger. Some call it a doughnut. Roll or run out of this... it will kill.
-Adds: there are melee and caster adds. You have seen them before, block the sword hits and bash the casters while you kill them. Adds are priority 1.
-Statue shatter: The Warrior will shatter the healing statue, then the dps statue. Once he shatters the dps blue smoke statue, everyone can move to make a circle around him.
!!If you take too long in Phase 1, he enrages, and you wipe to a mass of adds.!!
Phase 2:
-The warrior runs over, and pulls out a great sword. He then lifts this up, and blows away the roof shortly. Pay attention to this, because he will do a similar move throughout phase 2. This one is just a knockdown with mild damage.
-Cleave: this attack is much like the shield throw, but it hits harder. Get out. No blocking. If you are in it, you are dead. This is an outward motion only, no return blow.
-Leap: this attack continues.
-Starfall: this is the effect like the roof explosion. He lifts his sword up, and everyone must collapse to a designated point. The platform in the center works well. For ~6 seconds he deals massive AOE damage. Heal through it. If you have any off healing, use it. You need off healing here and having a restoration staff on your off bar for this is recommended with at least healing springs for the AOE. Having additional AOE heals will help. If you don't heal it, you wipe. Immediately after, spread back out... or he will kill people with cleaves.
!! If you are about to kill the warrior, people should stay dead. The final score flashes up shortly after he is dead. Rezzes in the short time between him dying and the score flashing will reduce your score!!
Many thanks to:
|
Asherai |
Arsnocte |
Azzures |
Bob the Destroyer |
|
Briseadh |
Catarina |
Eiahn |
Foviel |
|
JJRDragon |
Lavum |
Max |
Phigment |
|
Prissy |
Pyrefly |
Raillery |
Seas |
|
Selrina |
Terrahawk |
Verve |
and anyone else in our trial runs whom I may have forgotten.
Special thanks to Prissy, Eiahn and Lavum for organization of the events.
Special thanks to Lavum for the screencap of Yokeda Rok’Dun.
Without all of you, this guide would not have been possible.
About the Author
Jairone
Senior Editor
Robert joined Gaiscioch during the Rift chapter, and decided to stick around because the people are awesome! He has a long history of playing games, mostly RPG or Strategy, and has played MMOs since they were born of MUDs.
Aside from his gaming, he also enjoys reading and cooking. Robert has also been previously published as a contributor with Rift Junkies for several articles during the 'Storm Legion' expansion. He does not always use the moniker 'Jairone' but it is a frequent choice in honor of one of his Grandfathers, as it is based on his middle name of Jerome.
About Elder Scrolls Online
Experience an ever-expanding story across all of Tamriel in The Elder Scrolls Online, an award-winning online RPG. Explore a rich, living world with friends or embark upon a solo adventure. Enjoy complete control over how your character looks and plays, from the weapons you wield to the skills you learn – the choices you make will shape your destiny. Welcome to a world without limits.