
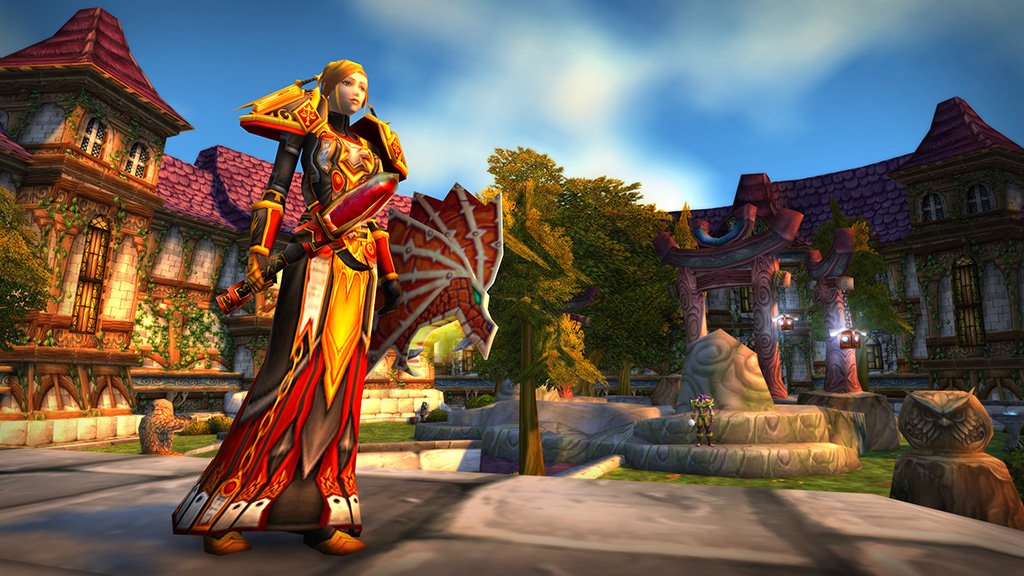
10 Quick Tips For Getting Started in World of Warcraft Classic
It was approximately 15 years ago when I first embarked on my World of Warcraft journey. In those 15 years, I played Horde on a PVP server, leveling one of every class to 120. I do not consider myself an expert in World of Warcraft, but you could say I am very seasoned in the game.
My fondest memories take me back to the first 2 years of the game known as "classic/vanilla". While 3rd party addons were available during this time, I chose not to use them. Instead, I realized there was much functionality already baked into the game. One had to look no further than visiting the in-game Interface Options.
In this guide, we will give you a taste of our top 10 Interface Options available. While this guide will not comprehensively cover all Interface Options, it is our hope that some of these options presented in this guide will go a long way to improve the quality of life of your WoW experience. In no particular order, below are our top 10 Interface Options settings.
1: Profanity filter
For some communities like Gaiscioch, family-friendly gaming experiences are widely sought after. It's one of the things we value in our guild. While the WoW profanity filter should be turned on by default, we wanted to let you know where to find it to ensure it is set up correctly:
Interface Options -> Social -> Profanity Filter
2: Auto loot
I wish I had known about this feature sooner in my World of Warcraft journey. It quickly becomes tedious to click on the mob you just defeated, then click on every individual piece of loot on the mob so it will transfer to your inventory. Turning on Auto Loot will not only save a little bit of time but will also save your wrist from developing carpal tunnel syndrome. As an older gamer, anything that makes gaming easier with my arthritic hands is a huge benefit:
Interface Options -> Controls -> Auto Loot
3: Instant Quest Text
By default, when you pick up a quest, the "classic/vanilla" quest experience is to gradually show you one-word-at-a-time. The first time I experienced this, I thought it was cool. However, with literally thousands of quests in the game, waiting for all of the quest words to appear before you can accept the quest became a turn-off. It wouldn't be so bad if the words appeared faster. However, the game presents the words at a very slow rate. Fortunately, you can turn this off, making all the quest text appear at once:
Interface Options -> Display -> Instant Quest Text
4: Camera Follow Style
In some MMO's I've played, the camera-follow style can be confusing, if not nauseating. The first time I played Guild Wars during the beta period, I developed a little motion sickness with the camera-follow style moving the background around violently like a camera on a rope. Fortunately, World of Warcraft has a decent out-of-the-box camera follow style experience; I do not ever recall getting motion sickness in WoW. However, I recently learned that you can change the Camera Follow Style, including turning it off completely. Camera Follow Style is a personal preference, and you should try all possible options. Here is what we recommend trying, but definitely set this to your liking:
Interface Options -> Camera -> Never
Interface Options -> Camera -> Max Camera Distance = High
5: Show Numbers for Cooldowns
When you learn a new skill or spell, you can place it on your action bar. Different skills/spells have a cooldown timer before you can reuse it. This setting will show a countdown timer on each skill/spell so you know exactly when it will be available to use again:
Interface Options -> ActionBars -> Show numbers for cooldowns
6: Add additional left and right Action Bars
The default action bar will quickly fill up with skills, spells, health potions, and mana potions as you level your character in Classic World of Warcraft. To ensure you have sufficient action bars at your disposal, you can turn on an additional left and right Action Bars:
Interface Options -> ActionBars -> Show Bottom Left Action Bar
Interface Options -> ActionBars -> Show Bottom Right Action Bar
7: Pet Key Bindings
For those of you playing a class that involves a pet (Hunter, Warlock we're talking about you), you can assign your pet's abilities to a key binding (up to 10). This can include sending your pet in to fight and calling your pet back to you. It can also assign any special skill/spell your pet has to a key binding so you have more control of your pet:
Key Bindings -> Action Bars -> Pet Action Button (1-10)
8: Show Enemy Name Plate
Enemy nameplates are the information that can appear directly above the head of NPCs. These nameplates provide useful information (health status and whether or not the NPC is friendly or foe). At the same time, these nameplates take up space on your screen and if there are several NPCs, your screen will become messy to look at. There are pros and cons to showing the Enemy Name Plate. Displaying or hiding nameplates is completely situational and personal preference. You can toggle nameplates by assigning this to a keybind:
Key Bindings -> Targeting -> Show enemy nameplate
9: Show target of target
It is often useful to know what mob others in your group are targeting. Usually, you will want to attack the same target as your tank. There is a setting that will show who someone has targeted. Here is where you can turn this setting on:
Interface Options -> Combat -> Show Target of Target
10: Target Markers
While target markers are useful in a group setting, they can also be used while soloing. If you are the group leader or tank, it may be your responsibility to mark mobs with different symbols above the NPCs heads. There are several symbols you can use, but the 4 most commonly used target markers include the skull, cross, square, and moon. By assigning these target markers to different mobs, your group can decide which order of NPCs to attack. To quickly set target markers on NPCs, you will want to assign these to an easy to remember keybinding here:
Keybindings -> Target Markers assign (skull, cross, square, moon, etc)
I sincerely hope this guide helps improve your experience in Classic World of Warcraft.
About the Author
Garyc
Writer
Garyc has been a member of the Gaiscioch Family since 2011. He is an “old school” gamer, getting his first taste of gaming on a Magnavox Odyssey console. With regards to PC gaming, he enjoys genres such as RTS, RPG, and MMOs.
About World of Warcraft
Descend into the World of Warcraft and join thousands of mighty heroes in an online world of myth, magic, and limitless adventure. Explore jagged, snowy peaks; vast mountain fortresses; and harsh, winding canyons. Witness zeppelins flying over smoldering battlefields; battle in epic sieges -- a host of legendary experiences await. Enter the World of Warcraft…