
Yulan's Handbook for Fractals of the Mists
A brief introduction
Back in October 2015, ArenaNet announced that it would officially stop the development of Dungeons in order to focus their efforts on Fractals of the Mists, popularly referred to as FOTM, as the new standard for PvE 5-man instanced content. This year we will see the first release of new content for this mode since the Fractured update on November 26th 2013, and as an enthusiastic veteran player I decided to write this first chapter of the handbook focused on potential orphan dungeoneers FOTM newcomers.
Mike O’Brien, ArenaNet’s co-founder and recently nominated Guild Wars 2’s Game Director, also announced that some of FOTM’s systems are undergoing some heavy changes and a lot of things contained here are subject to change, but don’t you worry! My intention is to keep this handbook updated as these changes go live. You can also contact me in-game (Yulan.4069) if you have any questions, suggestions for this guide, or just want some company through the mists!
How does FOTM work?
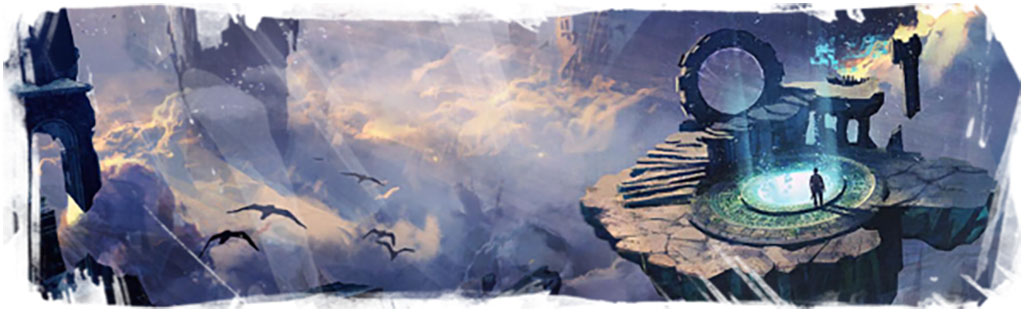
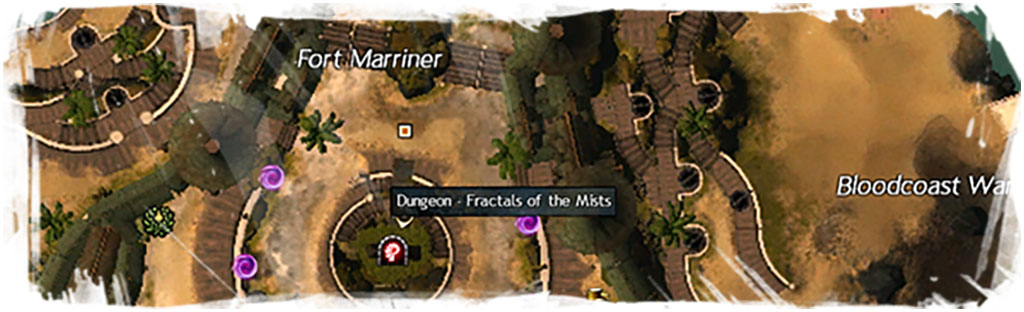
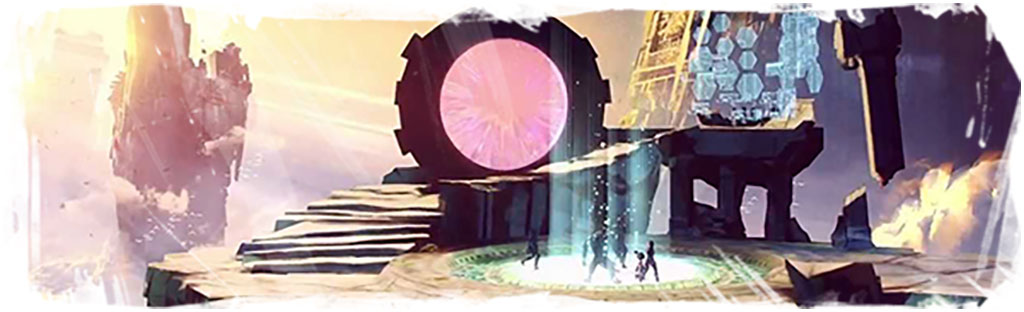
You can access Mystlock Observatory - the first area of FOTM and popularly known as “fractal’s hub” - through a portal in Lion’s Arch at any character level, but while inside you will also have an account-wide Personal Fractal Level.
From here, you can access multiple “Islands” with increasing difficulty within FOTM, suited for a group of 5 players, and every time your group complete any Island equal or higher than your Personal Fractal Level, it will increase by 1:
- Your level is 1, and your group complete Island 1 = You’re now level 2;
- Your level is 2, and your group complete Island 50 = You’re now level 3;
- Your level is 3, and your group complete Island 1 = Your level remain 3.
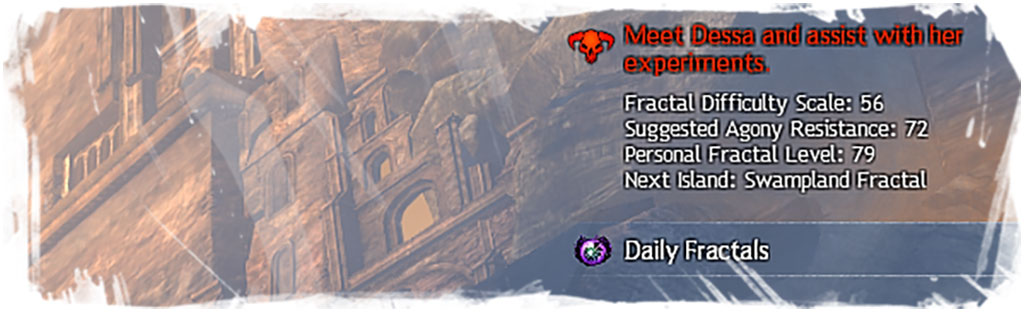
While in the Mistlock Observatory, you can change the current Island by interacting with the Scale Setting Sequencer, repair armors and access some merchants. After the group has packed up, they can travel to the Island by stepping into the portal at the middle of the Observatory. Note that you can check the current Island selected and your Personal Fractal Level in the top right of your screen while inside FOTM.
Tip: The group can access any Island based on the highest Personal Fractal Level of its members (if the player with the highest level is on 78, that means Islands 1-78 are available for the whole group). This way, your group can play the content at their own pace and reap the rewards of Daily Fractal Achievements without individually meeting the requirements for it.
Agony (Island 20+)
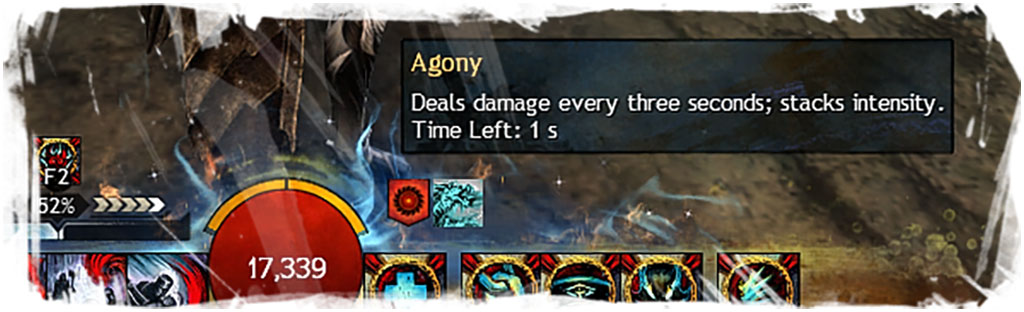
From Island 20 onwards, a new mechanic called Agony is introduced: it’s an irremovable Condition applied by certain events and boss attacks that reduces your healing capacity and rapidly takes away a % of your total HP per second applied. Higher Islands inflict heavier Agony that can potentially kill your immediately, and the only way to counter it is by increasing your Agony Resistance (AR) attribute.
AR is increased by applying Infusions acquired in FOTM or from the Trading Post to pieces of Ascended or higher quality gear (the only ones with Infusion Slots available), thus making them required after a certain threshold. You can check the recommended amount of AR for the current Island in the top right of your screen while inside FOTM, and your character’s AR in the Hero Panel along its other attributes.
To know how much AR you need for a specific Island, check Appendix 1: Agony Resistance Table.
For tips on how to increase your Agony Resistance, check Appendix 2: Increasing your Agony Resistance.
Trivia: In the lore of the original Guild Wars, players had to go through the rite of Ascension in order to gain the Gift of True Sight, which allowed them to see and fight the mursaat. To defend against the Spectral Agony used by these foes, players could infuse their armor. Do you see a connection here?
Mistlock Instabilities (Island 31+)
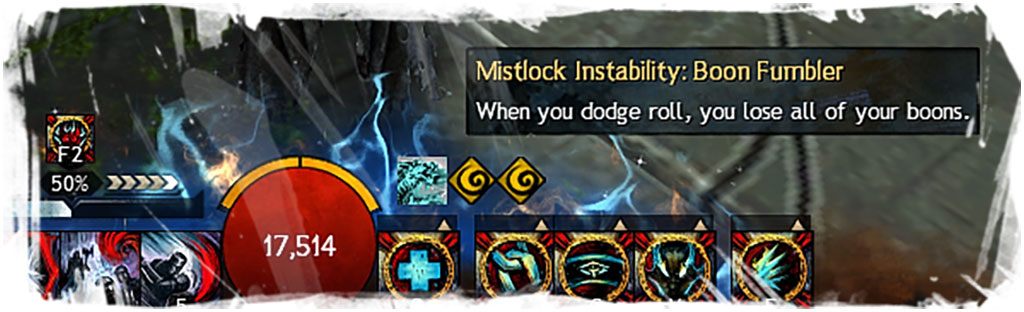
These are special modifiers introduced at Island 31 that apply various effects in the group, like “When you dodge roll, you lose all your boons”, keeping the game experience fresh and challenging. Every few sets of islands have their own Mistlock Instability, and starting at Island 61, there are two Mistlock Instabilities active.
These are special modifiers introduced at Island 31 that apply various effects in the group, keeping the game experience fresh and challenging. Every few sets of islands have their own Mistlock Instability, and starting at Island 61, there are two Mistlock Instabilities active at once.
You can check which Instability is currently active in the same area where Boons and Conditions are shown in the UI. Always keep them in mind, since some are pretty game-changing!
|
Island Level |
Mistlock Instability |
Tip |
|
31-40 |
Lethargic: Reduced endurance regeneration. |
Try to replace your dodges with blocks, aegis, and skills with built-in evades. Applying Blind is really great here. Protection also helps mitigating the damage you’ll have to soak. |
|
41-50 |
No Pain, No Gain: Enemies receive Protection, Might and Stability when you hit them. |
Boon striping and corruption are your best friends here. Try to remove Protection from enemies as much as possible, or steal it for yourselves! |
|
51-60
|
Last Laugh: Enemies explode when killed. |
A well-timed block/evade will do the trick most of times, but if all else fails, keep a ranged weapon in hand. |
|
61-70 |
Sluggish: The recharge time of skills you use is increased if you have a condition on you. Afflicted: Enemies apply random damaging conditions. |
Conditions are applied too constantly here to cleanse in any reliable way, so save it for particularly nasty conditions like Poison. Necros can benefit from transfering conditions as well. Take your time to get used to the new timing of your skills, or hire a Chrono for all that sweet Alacrity. |
|
71-80 |
Afflicted: Enemies apply random damaging conditions. Lethargic: Reduced endurance regeneration. |
Nothing new here, keep going! |
|
81-90 |
Lethargic: Reduced endurance regeneration. Boon Thieves: Enemies steal boons when they hit you. |
Be careful from now on, as you’ll want to keep your enemies free from any Retaliation and Protection. The safest way to do this is to avoid applying them at all – This is the reason Guardians are so avoided in high-level Islands nowadays. Change your traits accordingly and avoid blasting Light fields! |
|
91-100 |
Boon Thieves: Enemies steal boons when they hit you. Social Awkwardness:Nearby allies receive Agony while you are fighting opponents. |
There isn’t much to be done about Social Awkwardness besides reaching 150 AR, but even then the healing reduction from the constant Agony ticks will still affect you greatly. If possible, move away from your allies and wait the Agony to end before using your big heal skills.
|
Tip: If you feel the need, you can “skip” particularly nasty instabilities by playing Islands above their threshold until you reach the desired Personal Fractal Level.
Appendix 0: Glossary
AR: Agony Resistance
FOTM: Fractals of the Mists
PFL: Personal Fractal Level, usually only called “level” when referring to FOTM.
PvE: Player versus Environment, where players challenge artificial intelligence enemies instead of other players
Up to this point I hopefully covered every fundamental mechanic you need to know to start your FOTM adventures. What lies ahead are specific guides for some of the most frequent issues and challenges people encounter in this game mode, which are going to be nurtured over time.
Appendix 1: Agony Resistance Table - or “How much AR do I need to survive each Island?”
|
|
HP lost per agony tick (increases 2.1% every island) |
||||||||
|
↓ AR |
20-29 |
30-39 |
40-49 |
50-59 |
60-69 |
70-79 |
80-89 |
90-99 |
100 |
|
0 |
10% |
31% |
53% |
74% |
95% |
117% |
138% |
159% |
180% |
|
5 |
4% |
25% |
47% |
68% |
89% |
111% |
132% |
153% |
174% |
|
10 |
1% |
19% |
41% |
62% |
83% |
105% |
126% |
147% |
168% |
|
15 |
1% |
13% |
35% |
56% |
77% |
99% |
120% |
141% |
162% |
|
20 |
1% |
7% |
29% |
50% |
71% |
93% |
114% |
135% |
156% |
|
25 |
1% |
2% |
23% |
44% |
65% |
87% |
108% |
129% |
150% |
|
30 |
1% |
1% |
17% |
38% |
59% |
81% |
102% |
123% |
144% |
|
35 |
1% |
1% |
11% |
32% |
53% |
75% |
96% |
117% |
138% |
|
40 |
1% |
1% |
5% |
26% |
47% |
69% |
90% |
111% |
132% |
|
45 |
1% |
1% |
1% |
20% |
41% |
63% |
84% |
105% |
126% |
|
50 |
1% |
1% |
1% |
14% |
35% |
57% |
78% |
99% |
120% |
|
55 |
1% |
1% |
1% |
8% |
29% |
51% |
72% |
93% |
114% |
|
60 |
1% |
1% |
1% |
2% |
23% |
45% |
66% |
87% |
108% |
|
65 |
1% |
1% |
1% |
1% |
17% |
39% |
60% |
81% |
102% |
|
70 |
1% |
1% |
1% |
1% |
11% |
33% |
54% |
75% |
96% |
|
75 |
1% |
1% |
1% |
1% |
5% |
27% |
48% |
69% |
90% |
|
80 |
1% |
1% |
1% |
1% |
1% |
21% |
42% |
63% |
84% |
|
85 |
1% |
1% |
1% |
1% |
1% |
15% |
36% |
57% |
78% |
|
90 |
1% |
1% |
1% |
1% |
1% |
9% |
30% |
51% |
72% |
|
95 |
1% |
1% |
1% |
1% |
1% |
3% |
24% |
45% |
66% |
|
100 |
1% |
1% |
1% |
1% |
1% |
1% |
18% |
39% |
60% |
|
105 |
1% |
1% |
1% |
1% |
1% |
1% |
12% |
33% |
54% |
|
110 |
1% |
1% |
1% |
1% |
1% |
1% |
6% |
27% |
48% |
|
115 |
1% |
1% |
1% |
1% |
1% |
1% |
1% |
21% |
42% |
|
120 |
1% |
1% |
1% |
1% |
1% |
1% |
1% |
15% |
36% |
|
125 |
1% |
1% |
1% |
1% |
1% |
1% |
1% |
9% |
30% |
|
130 |
1% |
1% |
1% |
1% |
1% |
1% |
1% |
3% |
24% |
|
135 |
1% |
1% |
1% |
1% |
1% |
1% |
1% |
1% |
18% |
|
140 |
1% |
1% |
1% |
1% |
1% |
1% |
1% |
1% |
12% |
|
145 |
1% |
1% |
1% |
1% |
1% |
1% |
1% |
1% |
6% |
|
150 |
1% |
1% |
1% |
1% |
1% |
1% |
1% |
1% |
1% |
Appendix 2: Increasing your Agony Resistance

Ascended trinkets (Accessories and Rings) can be used by any Profession and are overall easier to acquire than Armor or Weapons, so I usually recommend to start with these. The most cost-effective method to acquire Ascended trinkets, excluding random drops, is:
Rings: Buy them from BUY-2046 PFR at Mystlock Observatory for 10 Pristine Fractal Relics each (acquired by completing FOTM daily achievements). You can also be rewarded with a random ring at the end of any Island.
Accessories: Buy them from a Guild Commendation Trader for 5 gold + 12 Guild Commendations each (reward for doing Guild Missions).
Start applying +7 Agony Infusions (bought from BUY-2046 PFR at Mystlock Observatory for 64 +1 Agony Infusions, that you acquire as rewards for completing any Island) to any Ascended gear you acquire. Once your rings are upgraded (see Appendix 3) this will provide you up to 56 AR from trinkets alone, that can be transferred to any character since Ascended items are all account-bound. Nice!
The next step is usually working towards infusing your ascended armor, and later weapons. This order is important because the Infusion in your weapon only contributes to your total AR when it’s in your hands, which means you’ll lose it if you swap to a weapon set without Infusions. There is a plethora of ways to achieve this endgame goal, but I recommend aiming for something like that:
-
+9 Infusion from each armor piece = 54 AR
-
+7 on each Weapon (x2 for 2-handed weapons) = 14 AR
-
+7 from each Accessory = 14 AR
-
+7 /+9/+9 from each Attuned Infused Ring = 50 AR
-
+9/+9 from your Backpiece = 18 AR
Total = 54+14+14+50+18 = 150 AR, the exact amount you need for Island 100.
Tip: Heart of Thorns owners can acquire the Anguished Tear of Alba potions for cheap after training the Follows Advice mastery under Fractal Attunement. These will grant you a flat +10 (+15 if you have the Fractal Attunement Mastery) AR for 1 hour, being ideal for beginners who still lack the gear needed or to push those last few, expensive AR required for higher level Islands.
Appendix 3: Upgrading your items
Tip: Whenever you upgrade your items through the Mystic Forge, any Infusion applied will be lost. Use an Infusion Extraction Device (bought from INFUZ-5959 in the Mystilock Observatory) to save your precious Infusions before doing that!
All Ascended Rings come with a single Infusion Slot, but they can receive extra slots after being Attuned and Infused for a total of 3 slots on each Ring:
To infuse a ring you will need to combine it in the Mystic Forge with:
To attune a ring you will need to combine it in the Mystic Forge with:
-
1 +1 Agony Infusion
Ascended Backpieces can also be infused (but not Attuned) for a total of 2 Infusion Slots, but each backpiece may use its own formula for that. To be sure, look for your specific backpiece in the Official Wiki’s article on Ascended Backpieces.
Changelog
16/09/07: Updated for the new Infusion system and changes from the 07/26 update, and added the “Upgrading your items” section.
16/03/11: Added Appendix 1: Agony Resistance Table
16/03/07: Added “Increasing your Agony Resistance” section.
16/03/05: Version 1.0 of the Handbook released.